
Rectangular ducting is the basis of warm-air distribution where there is little room for standard flexible hoses. Here you will find straight channels, elbows, splitters, reducers to flexible duct and to a grille, connectors, inlets, mounting brackets and an insulating sleeve.
The parts are ideal for anyone building a fireplace surround who wants to get heat from the insert to rooms further away.
Rectangular ducting
17 products in this category.
Filters (active)
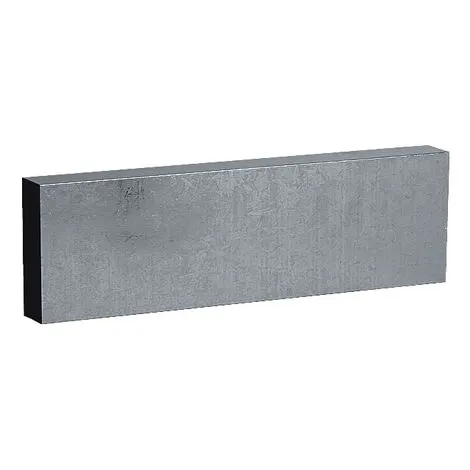
Rectangular duct 100cm, channel
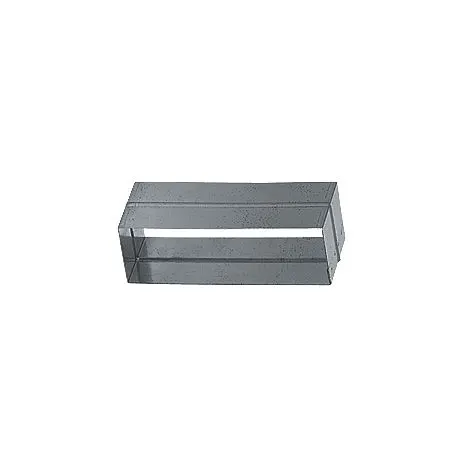
Rectangular Connector 150x50 mm
4.7 (3)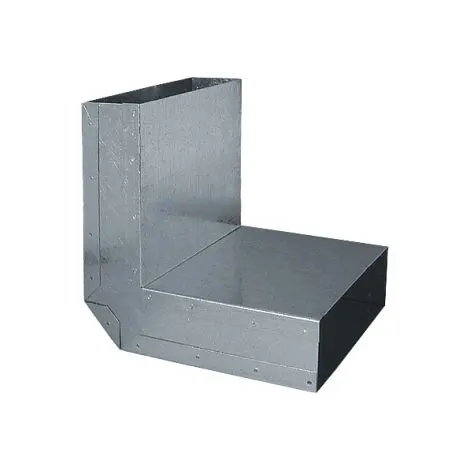
Wall - ceiling bend, duct
4.7 (3)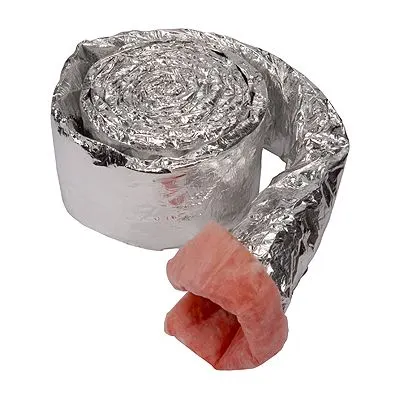
Insulating sleeve 150x50/10m
Rectangular Duct 50cm, Channel
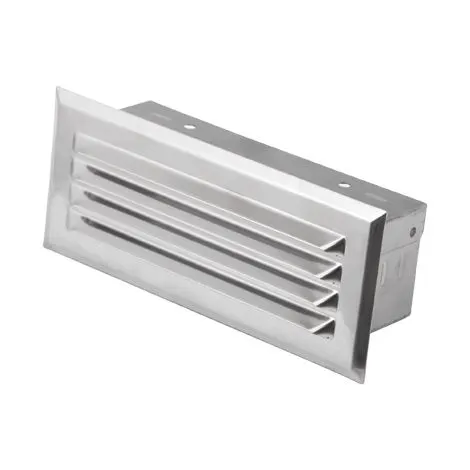
Duct Transition Piece, Channel
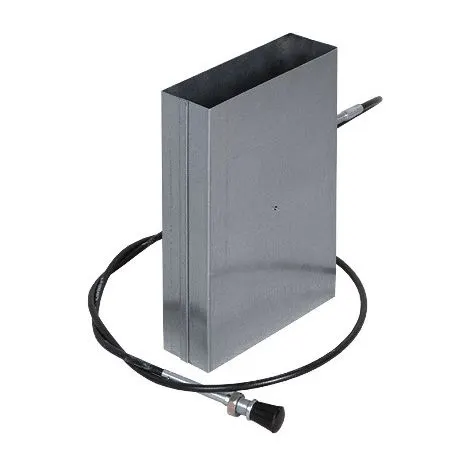
Damper, duct with control rod
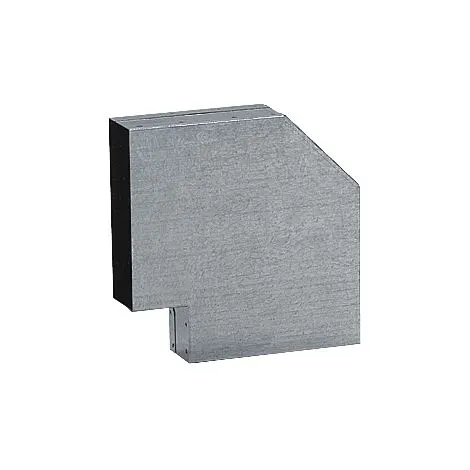
Elbow 90°, duct
5.0 (1)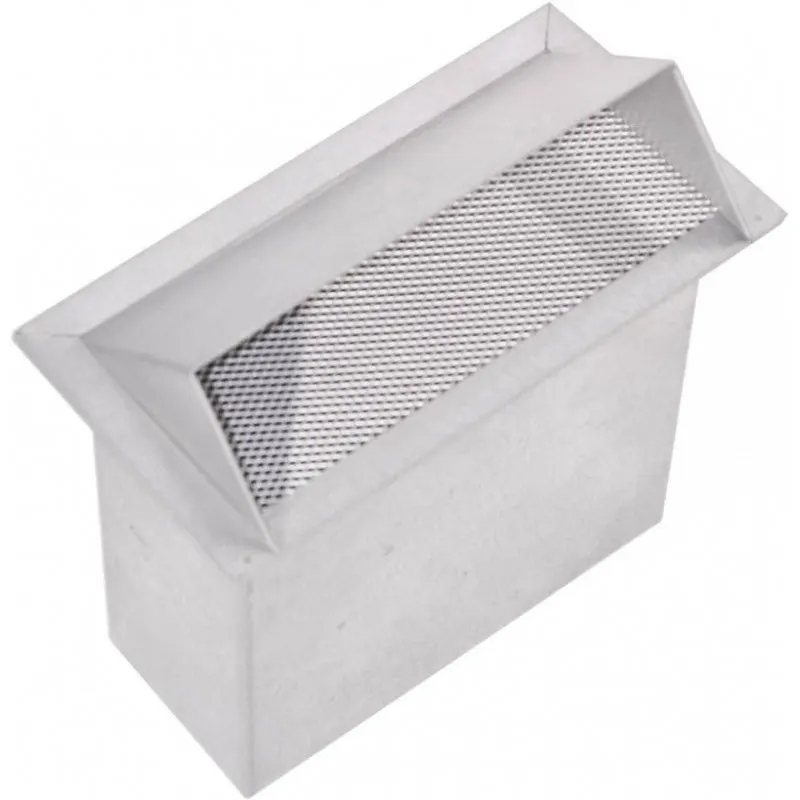
Rectangular Connector 150x50 mm, Galvanised
5.0 (1)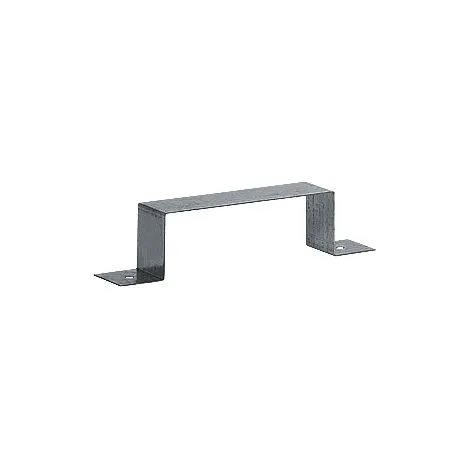
Mounting Bracket, Duct
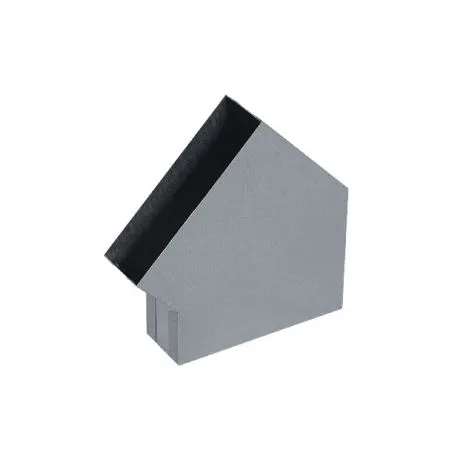
45° bend, duct
Mounting Bracket for Duct with Insulating Sleeve
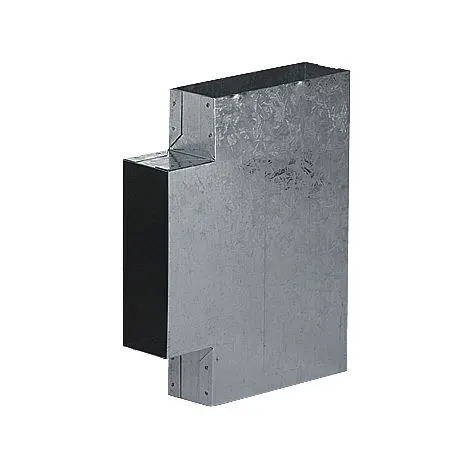
T-piece 90°, duct
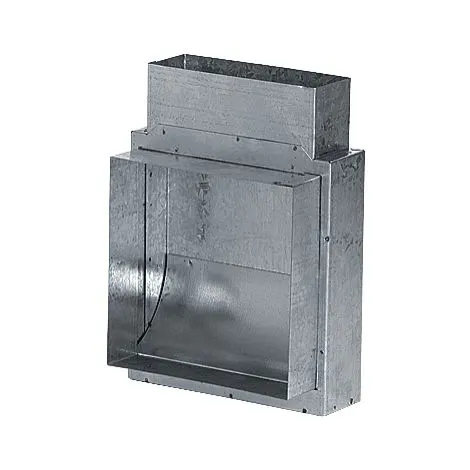
90° Reducer, Duct to Grille
5.0 (1)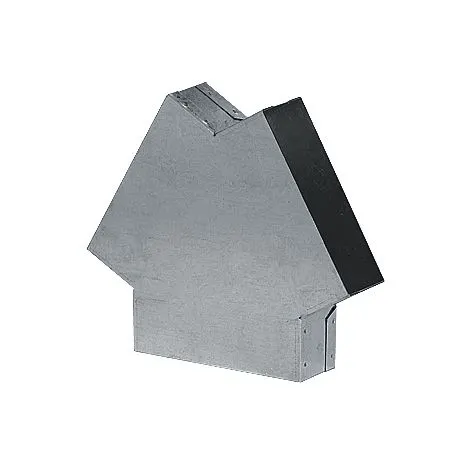
Splitter 120*, Duct
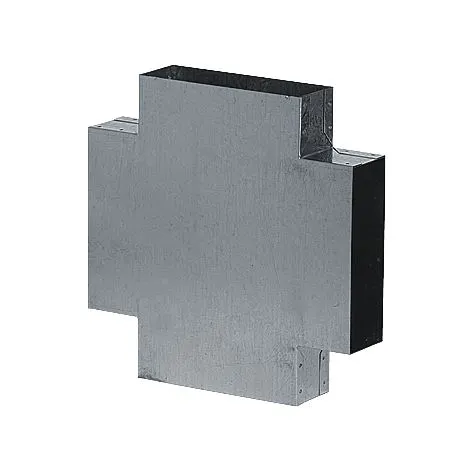
Cross Piece, Duct
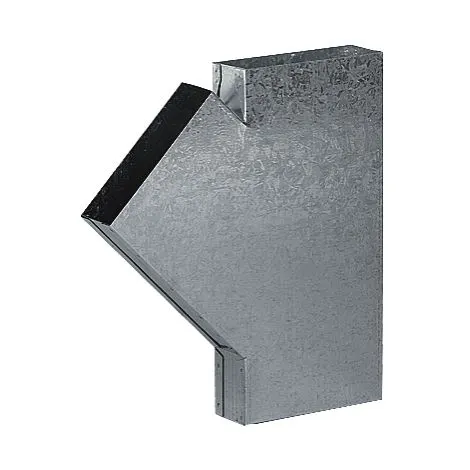
Y splitter 45°, rectangular duct
How to build a run from rectangular ducting
The flat 150x50 mm cross-section fits into ceiling voids, above door frames and into narrow shafts where round ducting would not go. You put the run together from straight sections 50 and 100 cm long and add fittings to suit the layout of the house. 45° and 90° elbows, a wall-to-ceiling elbow, a cross piece or Y and T splitters let you distribute warm air to several rooms from a single insert.
Things to consider when choosing parts
- Transitions: straight and 90° reducers connect to 100, 125 and 150 mm flexible hoses or directly to an outlet grille.
- Regulation: a damper with a pull rod lets you close off a branch to a room you do not want to heat at the moment.
- Insulation: the insulating sleeve limits heat loss over a long run and protects surrounding structures.
- Fixing: space the mounting brackets evenly; for sleeved ducting, use the bracket designed for insulated channels.
Practical tips
Keep runs as short as possible with a minimum of bends — every elbow increases resistance and reduces the amount of air that reaches the room. Fit the joints carefully and make sure the system does not rattle or carry sound. Choose inlets and connectors in the same size as the rest of the channel, and only use reducers for transitions to another diameter. It pays to plan warm-air distribution before the surround is closed up; alterations afterwards are always more work.